

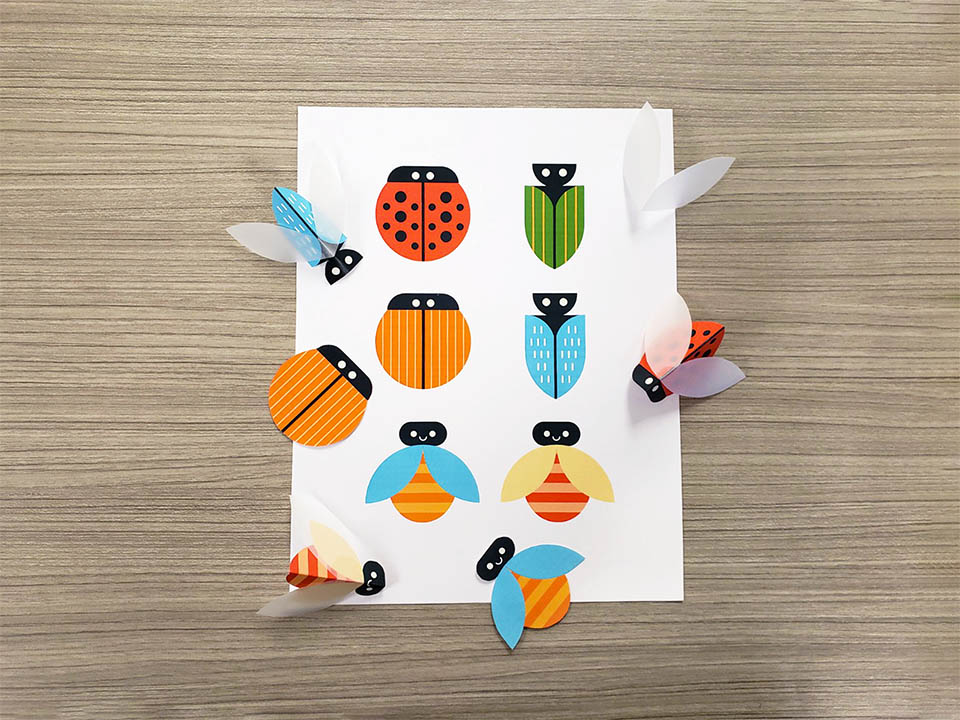
3D Love Bugs
Having an Anniversary, Engagement or Sweetheart Party? Make these decorations to show your “Love Bugs” you wish them the best! We provided all the templates, instructions and even the entire alphabet. About all you need is a color printer, and a few household craft tools like scissors, some glue, twine or ribbon and clear filament. Feel free to “wing it”!
 SUPPLIES
· White construction paper
· White glue
· Scissors
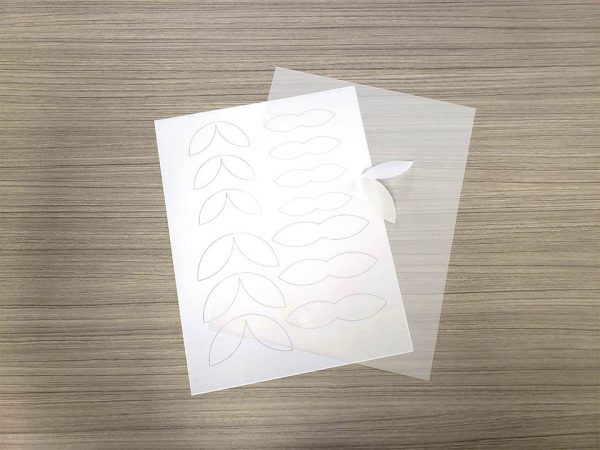
· Thin plastic acrylic sheet or translucent paper for extra wings (optional)
INSTRUCTIONS
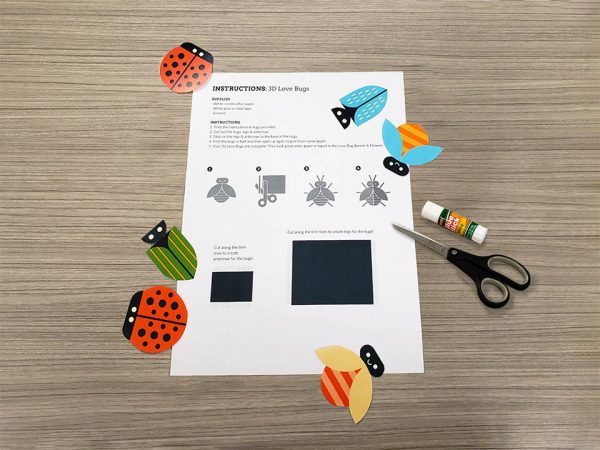
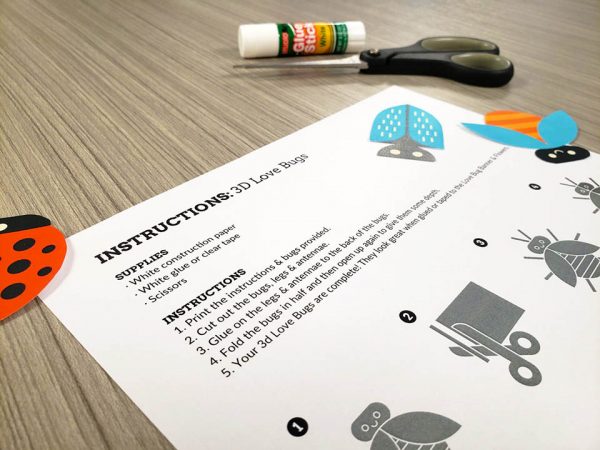
1. Print the instructions & bugs provided.
2. Cut out the bugs. Cut out the legs & antennae (optional).
3. Glue on the legs & antennae to the back of the bugs. This is optional, the bugs are just as cute without legs and antennae!
Using the wing patterns, layer a sheet of plastic or translucent paper on top and cut out the optional extra wings.
4. Fold the bugs in half and then open up again to give them some depth. If you chose to make the translucent wings, food them in half and attach with a dab of white glue.
5. Your 3d Love Bugs are complete! They look great when glued or taped to the Love Bug Banner & Flowers. You can also “invisibly” hang them from the banners using clear filament. We used a string needle, threading it with the filament through the bugs. Tie a good knot and trim the filament. Secure the other end of the filament to the banner.
Stay Connected!
We'd love to share community news, builder updates and upcoming events with you.
Sign up below to get email updates from us.
Thank You!
Thank you for contacting us, someone will be in touch with you soon!


